Become An Android App Developer By 2020
If you are thinking of starting the android development then, this is the right time to do. you are not early, not late. you are just in time and you already did a great thing by opening this blog.
This blog is intended for those people who have zero experience in android app development. if you have some experience please skip this blog.
For those programmers who want to showcase their thoughts to everyone, which requires user interaction very often, I feel mobile apps are the best way to go. let’s skip these boring introduction and jump directly to the step by step procedure to learn android app development by this 2020

prerequisites to start android application development
- A good machine with a minimum of 8 GB RAM and i3 processor
- Any one of the operating system like windows 8+, MAC OS or Linux( prefer ubuntu LTS if you are new to Linux )
- Basic programming techniques like data types, conditions, loops, functions, arrays
- Object-oriented concepts like class, objects, inheritance, abstraction, polymorphism, and encapsulation
- Programming Language: Proficiency in either java 8 or kotlin(preferred) is a great asset. can be developed in c++ also but try to avoid it as it serves a different purpose
- And finally, a never give up mindset
Now that you satisfied the prerequisites required, let’s move to the most interesting part of this process.
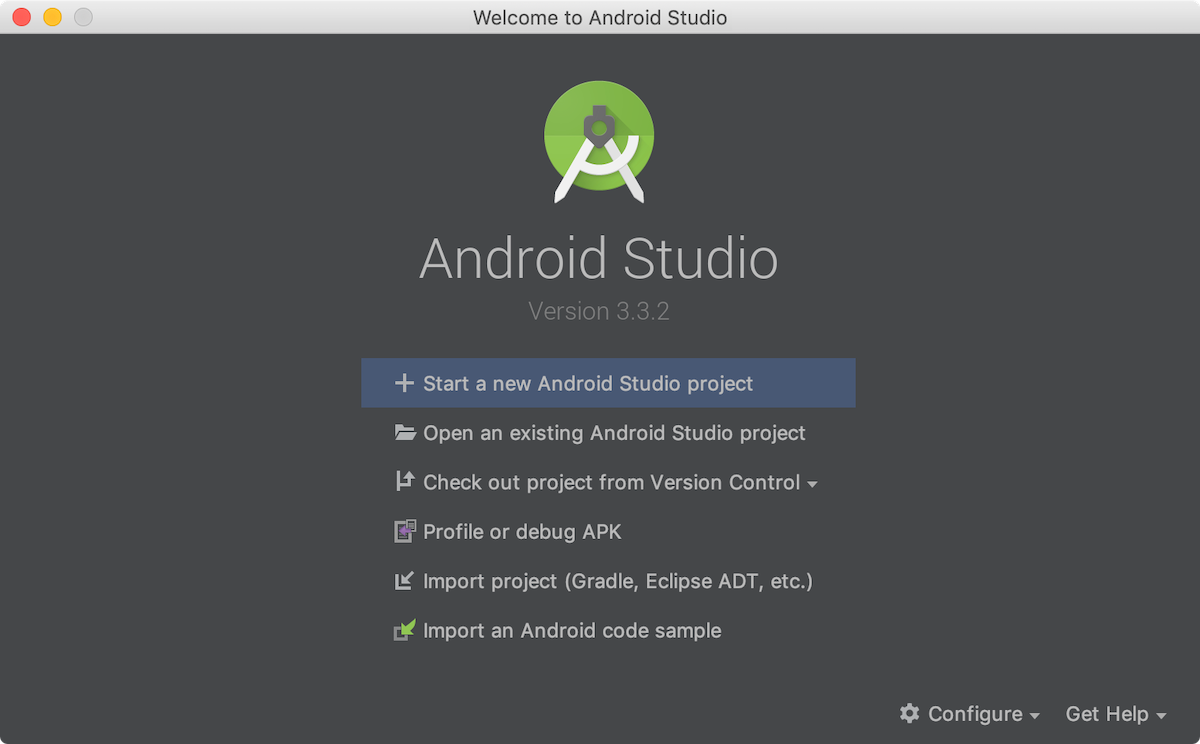
Installing Android Studio
Android Studio is the official IDE supported by Google, designed specifically for Android development.
Directly install the android studio which will help you to visualize more things and can help you see the vocabulary and some key terms of android development.
you can get the android studio from here, also just have a glance over the entire page it’s fine if that looks too geeky for you. get your guts tight and proceed to install.
I highly suggest you not to watch any installation videos. just read everything that installer shows you and google things if you are stuck in any part because for the next 6 months you have to do this so you have to start practicing it from now :-) and stop there if you are confused anywhere and ask for help or watch a tutorial but don’t just keep pressing next blindly.
Also, don’t forget to install an emulator if you have a good machine. if your machine is little slow skip the emulator part and run apps on your hardware device just connect the phone to your machine using USB cable and turn on developer options. when you try to run the app it will show a prompt to run the app on your device
P.S: the emulator is the actual mobile phone running on your machine
Create your first hello world project

- Click Start a new Android Studio project.
- In the Choose your project window, select Empty Activity and click Next.
- In the Configure your project window, complete the following:
- Enter “My First App” in the Name field.
- Enter “com.example.myfirstapp” in the Package name field.
- If you’d like to place the project in a different folder, change its Save location.
- Select either Java or Kotlin from the Language drop-down menu.
- Select the checkbox next to Use androidx.* artifacts.
- Leave the other options as they are.
4. Click Finish.
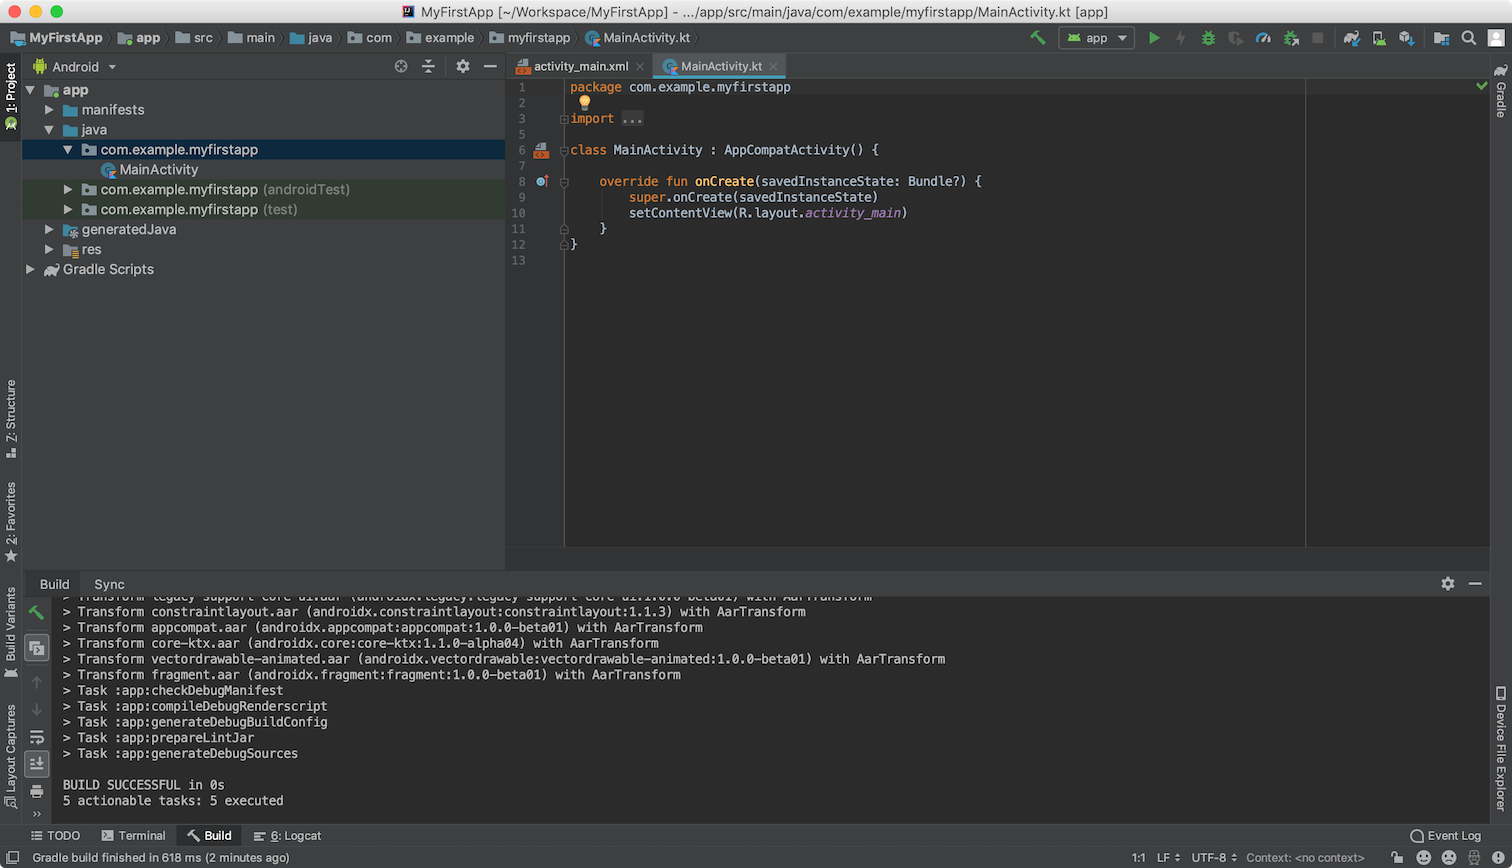
After some processing time, the Android Studio's main window appears.

Now that you can see your project just initialized without much thinking click that run button over there ( it looks like play icon there ) and select your mobile, wait for the build to complete and you can see the app installed on your device.
Hurrah, you just made your first app. Not so fast, let’s explore your project and you can take your happy snacks after that with much more satisfaction.
On the left side, you can see two root folders app and the Gradle scripts
app is the directory where your complete app code goes.
inside the app we can see there is a manifest folder which contains a manifest file of the project
Manifest File:
every component in the android project (Activities, services, broadcast receivers, content providers) must register in the manifest file
Manifest file should also contain permissions needed to run the app ( location, internet, read contacts, read internal storage )
java folder:
java folder contains three packages
com.example.myfirstapp => your main application code goes here. care more about this package. you will have all android components in here.
com.example.myfirstapp(androidTest) => you can write your android code tests here. tests will run on the android device
com.example.myfirstapp(test ) => you can write tests for your pure java classes here it won’t run on the device
generated java folder:
please ignore this, for now. it’s just gonna make your learning slow. The classes you can find here are all the classes the project will be built from, including the libraries
res folder: (resources)
res folder contains graphical assets required for your project
layout folder: where you design your app
drawable: contains all image assets
values: XML files that contain simple values, such as strings, integers, and colors.
learn more about resources here
Gradle scripts are scripts that automate many tasks from your code to apk building Gradle takes care of everything and it also contains your project configuration and dependencies ( libraries from external sources ) needed.
There will be two build.gradle present in build scripts
build.gradle(project) : project-level build applies to all submodules
build.gradle(app): app-level build script which applies only to this module. you can add your dependencies here
learn more build from here.
These are some application basics. spend some time in this hello world project. Go through every file you can in this project. learn what it does, try editing them and check the changes once you learn which folder contains what we can start any course.
App components
App components are the essential building blocks of an Android app. Each component is an entry point through which the system or a user can enter your app. Some components depend on others.
There are four different types of app components:
- Activities => we saw this just now. the activity contains UI. every screen you see in an app is an activity
- Services => service does not contain UI but it keeps on running in the background ex: music player plays songs if you are using other apps or when you lock the phone
- Broadcast receivers => a component that enables the system to deliver events to the app outside of a regular user flow, allowing the app to respond to system-wide broadcast announcements. for example, an app can schedule an alarm to post a notification to tell the user about an upcoming event… and by delivering that alarm to a BroadcastReceiver of the app, there is no need for the app to remain running until the alarm goes off.
- Content providers => through the content provider, other apps can query or modify the data if the content provider allows it. For example, the Android system provides a content provider that manages the user’s contact information.
Now that you know some basics of android apps. it’s time to start some courses to learn more concepts:
learn about android basics in java. if you want to learn in kotlin still continue reading these content, in the end, you can find kotlin resources
in here, you will learn about layout designing in android, this course assumes you have no experience in android. take a look and complete the project
in this course, you will get introduced to object orientation in android and you will start making interactive apps
enough basics, things will get some advance in here. watch a motivational video or think about your passion again before starting this course :-)
if you are feeling confused here, that means you are doing it right because everyone will be. keep going, don’t stop. you can think later about how you are feeling.
in the above course, you will learn about
- creating multiple activities and passing data to each other using intents
- display the data in a list view (which most apps use)
- adding images the right way in the apps
- Activity lifecycle (important concept for interviews and make better apps)
- playing audio in apps
- Fragments ( dynamic views once created, you can use them in any part of the apps )
Till now you are storing data in-app and displaying it using views, what if data is so big? you cant make a 100 MB app, no one’s gonna install it. what you can do store the data somewhere on the internet and get the data from there as required.
using android networking concepts, you can do this. in this course you will learn
- JSON parsing (data on the internet will be generally in JSON, you should parse that data and put it into your views as required)
- Http networking ( for getting the data from the internet you will have to use HTTP )
- Threads and parallelism ( as network calls will take some time we shouldn’t pause the UI thread, the thread that our app runs on. so instead we create a background thread and get the data over that thread and update UI once the thread does its task )
- shared preferences (store small data in apps )
Data storage
once the above concepts are completed now i think you are confident about android app development. let’s don’t stop and continue the learning
what to do if we want to store some data on the device?
the option we have
- shared preferences ( to store key-value data pairs usually some settings like if we want a dark theme, select language )
- save files in device storage for private files in internal storage for non -private files in external storage
- SQLite database ( every android mobile has its small internal Relational database where data can be stored in rows and columns)
learn more data storage. just refer. it’s okay not to understand everything in a first glance as it’s documentation it will be little technical
complete these codelabs to hands-on experience of data storage
now that you completed the basics now you are a basic android developer who can write apps.
finally, complete this course to know application development procedure combine all things you learned till now
in the above course, you will implement all the concepts you learned till now and develope a fully functional weather app and some new concepts needed.
if you chose kotlin as your language for android development
then go through this course and codelabs, it consists of all the above concepts mentioned.
i have mentioned udacity courses to learn concepts because they follow step by step order to make things more clear. some courses are a little old so you will know how things started from the beginning and they make some concepts confusing intentionally to make you explore more on that topic.
if you felt any of the concepts taught by udacity is boring or confusing. feel free to switch to learn that particular concept by other sources but maintain the same order
This is just the beginning of your android development career, there are many other concepts you needed to learn to be an advanced android developer which i will write in some other blog.
If you love my writings please give some 👏👏👏 so that i can write more blogs to help you in new concepts.


Comments
Post a Comment